

Hello! Only a few days to go until the the shows on Hochanda TV for Lavinia stamps- 3rd August. Yes the fairies are back !! For today’s post I promised a quick tutorial for the first of my samples shared on the costumer ‘Loving all things Lavinia’ FB site.
I’ve used one of the sets coming up on the show. There will also be a cute little caterpillar which I don’t have a photo of but here are the other stamps used:

Todays tutorial explains how I was able to use the tree stamp in reverse.
But first to begin I used watercolour card and distress oxide inks (blueprint sketch; cracked pistachio;shaded lilac; squeezed lemonade and black soot)
Taking the blueprint sketch, black soot and cracked pistachio and a couple of foam pads I added colour in diagonal stripes down the top two thirds of the rectangular page. I concentrated the black at the top and around the edges. On the bottom of the page I added the yellow.


Using a fan brush and some white acrylic ink I placed splatters randomly over the blue, black and green sky.

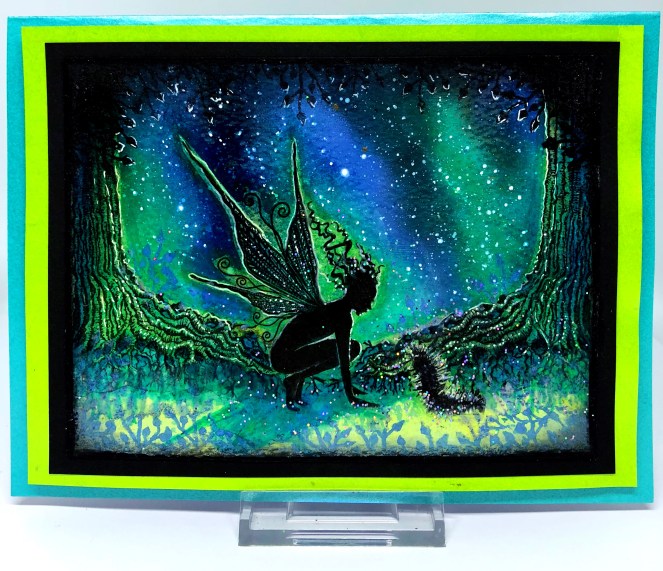
Next using versafine onyx black I stamped the fairy, the caterpillar and the tree twice on to rice paper. I carefully cut out the images leaving a tiny border around the edges. I then adhered the images using matt medium flipping one of the trees so that it faced the other. The rice paper becomes translucent revealing the colour underneath.
Using the foilage stamp and black ink I stamped around the top of the page and the tops of the trees. I also darkened the edges further. I used the same stamp and the faded lilac oxide ink to add detail to the bottom and around the trees.

I swiped a shadow using the blue oxide under the fairy.

The finishing touches were added using gel pens -white highlights on the fairy and the leaves and trees and extra black underneath the tree stumps and along the roots of each tree. I also added a little more blue ink. Glitter was then added around the caterpillar and the fairy’s wings.

The secret is to imagine where the light is when adding colour and highlights and to have a light colour around the fairy’s head.
Dont forget to tune in on the 3rd for lots more inspiration. Hochanda TV can be accessed via the internet and there is a catch up facility for missed shows.
Lisa xx
Lovely. Love it
Thanks lovely Cynthia ! X